This recipe was developed by my wife and I am very excited to be sharing it with you!
Before we started this experiment, we weren’t sure if it would work, but as it turns out not only can you make tofu from black walnuts, you want to because it is delicious!
In this article we’re going to show you everything you need to know to make it.
If you don’t have black walnuts, don’t worry! In the gathering section I’ll show you where you can buy wild-harvested black walnuts online.

What is tofu?
Tofu is essentially compressed curds formed into a “cake.”
Curds are clumps of protein solids. They are formed by the proteins coagulating in a process called curdling. This is usually achieved with either a salt-based (gypsum) or acid-based coagulant (lemon juice).
While the vast majority of protein curds for tofu come from soy protein, it doesn’t have to be soy!
Any food with sufficiently high protein can be made into a tofu-like product. For example, paneer, common in Indian cuisine, is essentially just dairy tofu. It is made using nearly the exact same process as soy tofu.
So, my wife and I, knowing that black walnuts are very high in protein (over 50% higher compared to the English walnut counterpart), wanted to see if we could make tofu from black walnuts.
We were very excited by our results!
Detailed walkthrough
A printable recipe can be found at the bottom of the page, but here is a detailed walkthrough for each of the steps.
Gathering black walnuts
For this recipe, you must use American native black walnuts. English walnuts will not work! They are simply too low in protein in order to coagulate into a solid tofu.
You can refer to my guide on foraging black walnuts here if you want to learn how to gather them for yourself, OR you can order wild-collected black walnuts directly to your doorstep from Hammons, the only online black walnut seller I recommend!
Use code “feral” to save 10% off your order! 👇
Prepping black walnuts
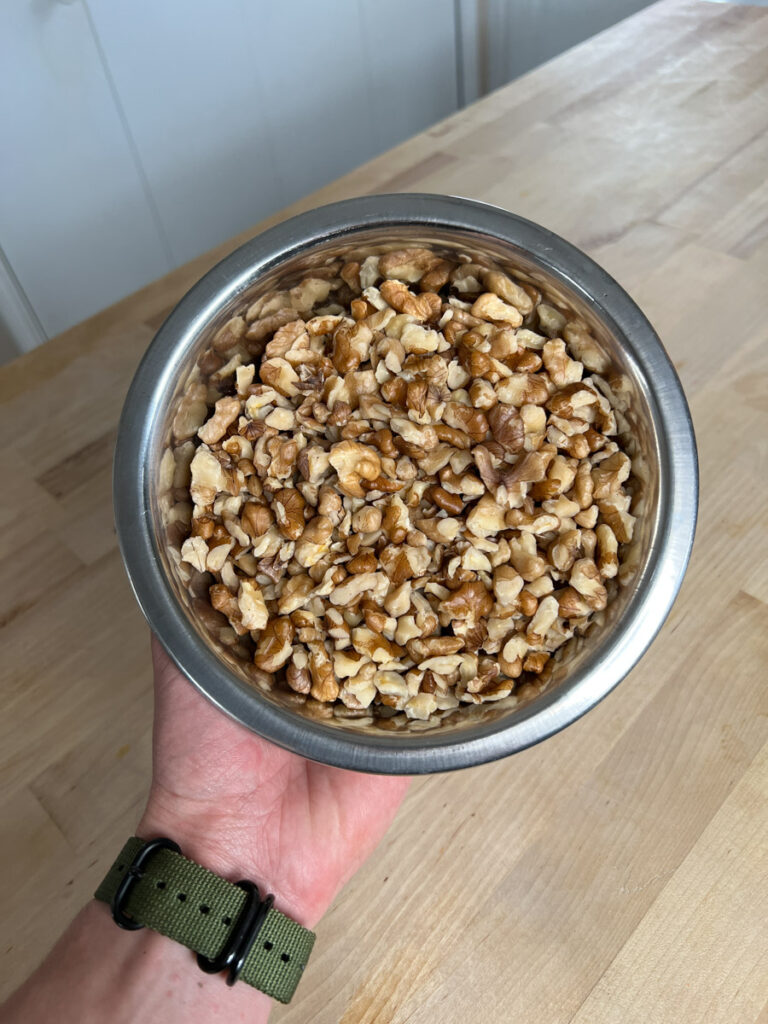
You want to ensure the walnuts are soaked thoroughly before beginning the rest of the steps. We soak them by covering walnuts in water and keeping them in the fridge for a day.
If you have to leave them longer than two days, we recommend straining out the water and immediately freezing them until you are ready to make the tofu. You’ll be able to use them straight out of the freezer.
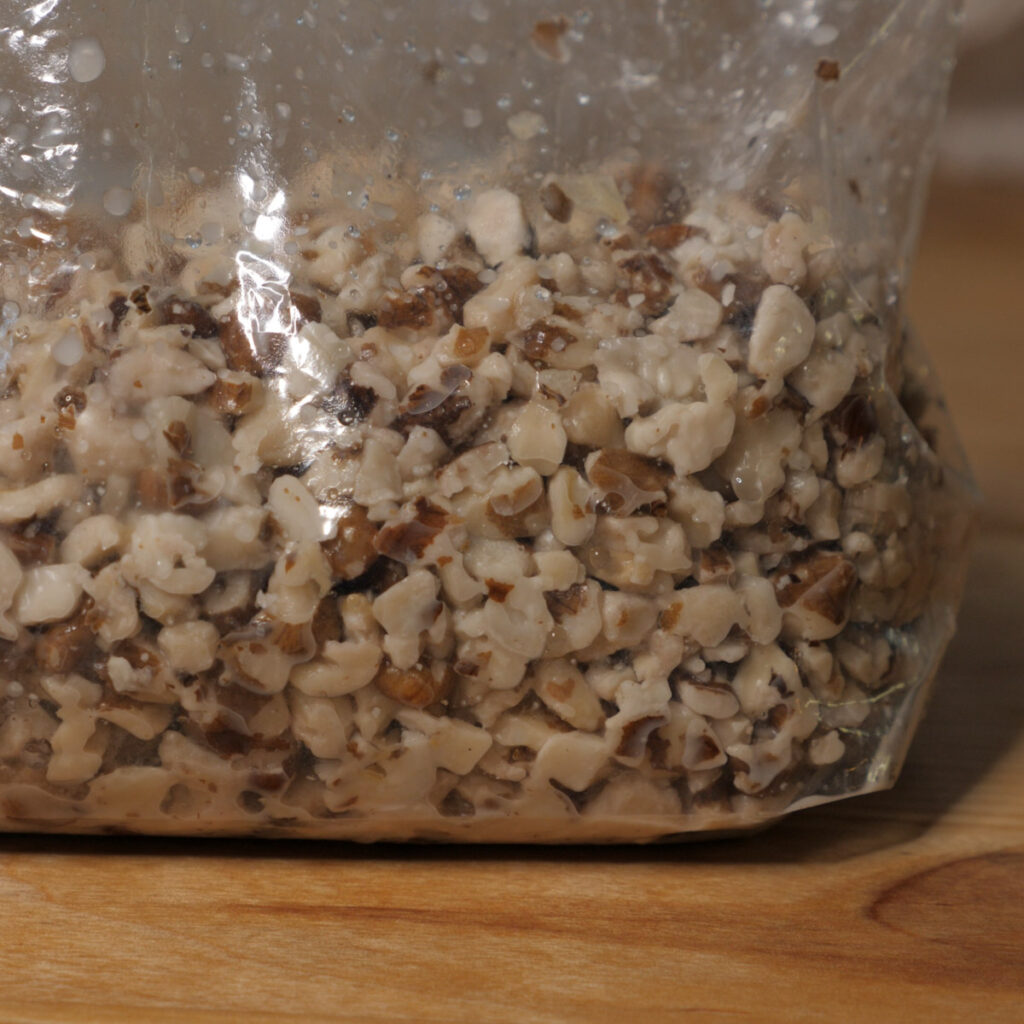
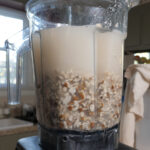
Add your black walnuts to a blender and add enough water to double the volume of the walnuts.
You may need to work in two batches to ensure you don’t overfill the blender.
We blend the mixture thoroughly, for about one and half minutes.
Straining the walnut milk
Once you have the walnuts blended thoroughly, we need to strain out the solids. You can use a fine mesh strainer for this, but you’ll get better results with a flour sack or nut milk bag.
If you use one of the cloth methods, avoid using excessive pressure like twisting to wring the liquid out, as this can force walnut solids through the cloth.
You want to gently massage the material around and apply light pressure. You may find that you cannot get 100% of the liquid through, but that is okay.
The walnut solids can be saved and dried to use for things like black walnut crackers!
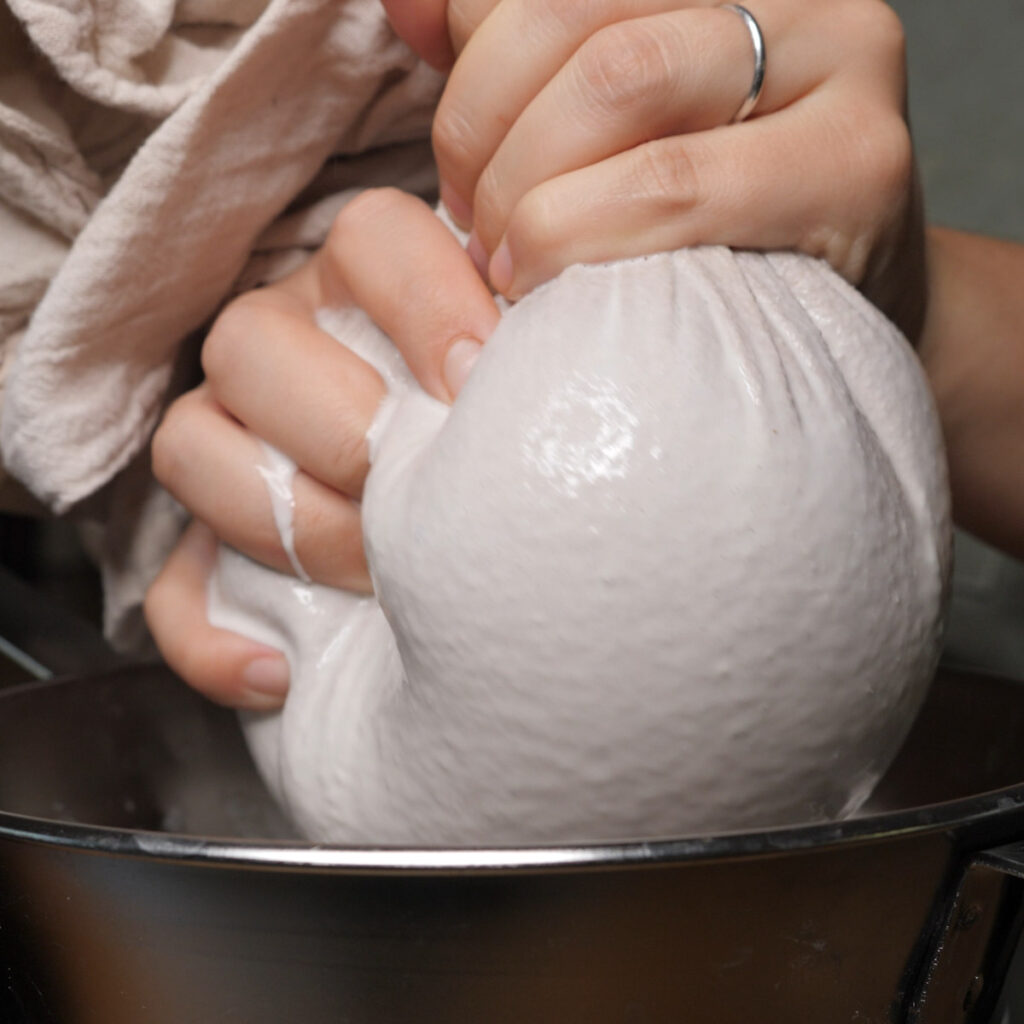
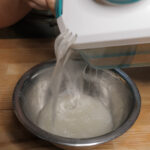
After you have strained all the milk, make sure to leave the liquid to settle. There will still be some ultra-fine solids that will settle and clump up at the bottom.
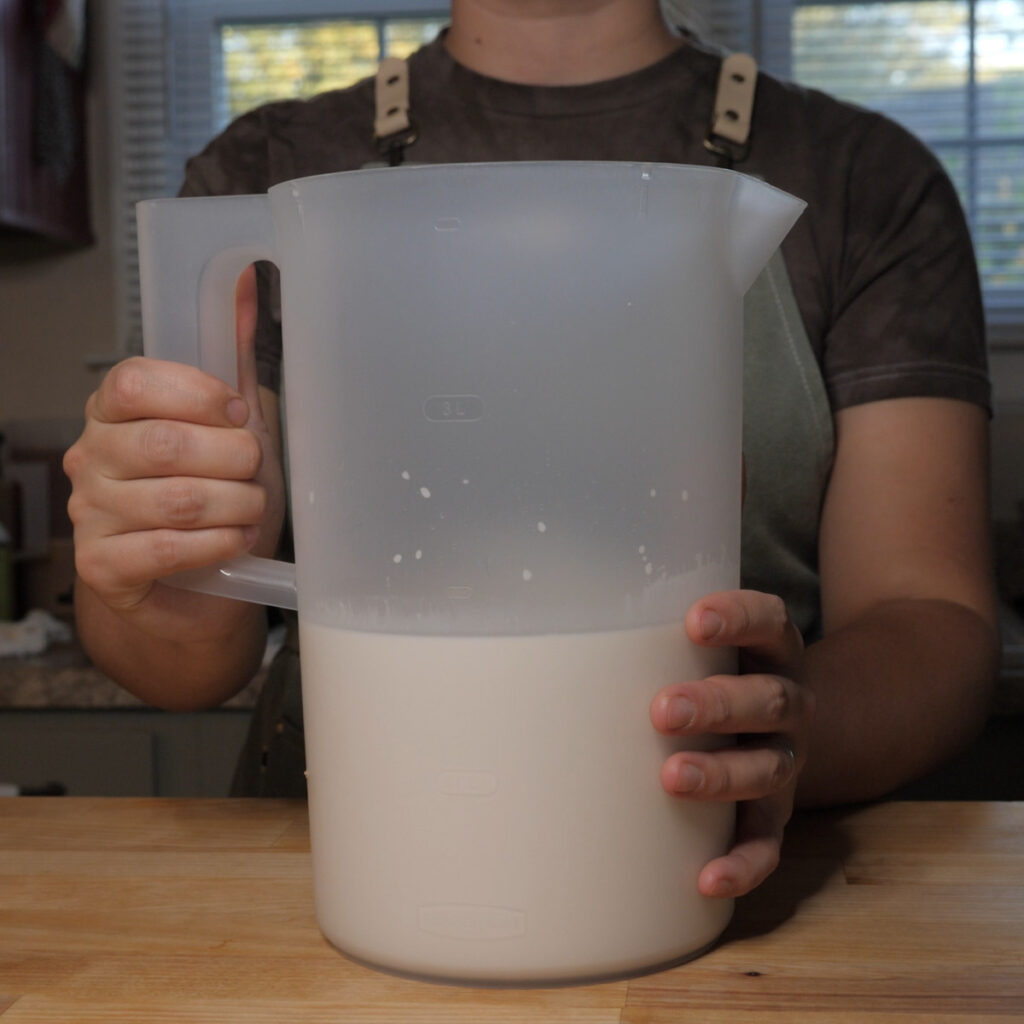
Coagulating the protein
Pour the milk into a saucepan carefully so that the clumped solids at the bottom remain behind.
Heat the milk over medium heat until you begin to see the milk “split.” This means the proteins have started to coagulate.

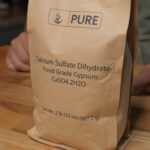
You then want to add a coagulant like lemon juice or food-grape gypsum.
The goal is to get all the proteins to coagulate. When they do, the liquid or “whey” will become clear and be entirely separated from the coagulated proteins called “curds.”
We add about one teaspoon at a time, stirring gently and waiting about 30 seconds to check how much additional coagulation occurs.
We did find that gypsum was more effective than lemon juice for the proteins in black walnut.
Once you have complete coagulation, remove from the heat and allow the mixture to sit, covered, for 10 minutes.
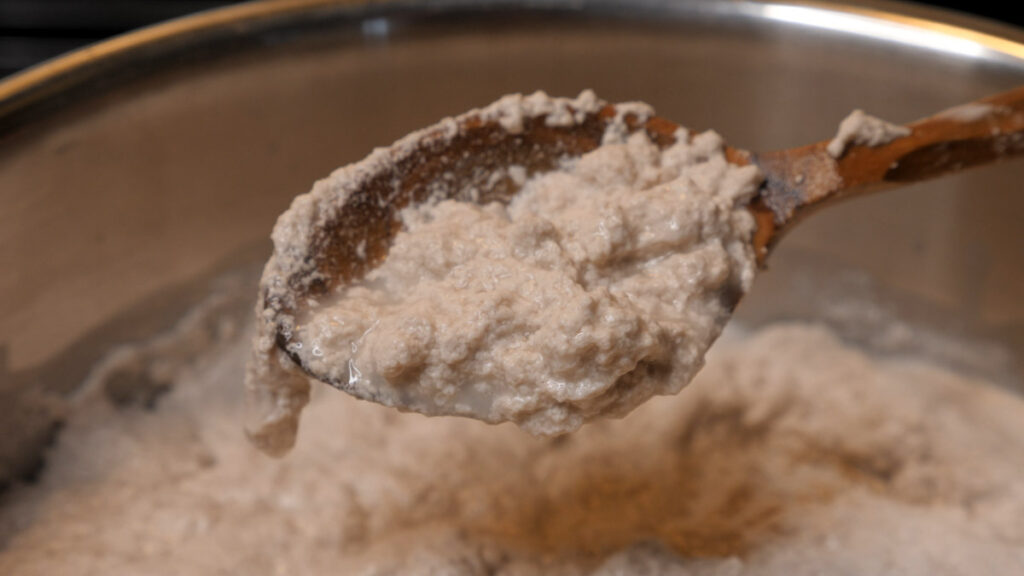
Pressing the tofu
Now we’re ready to press the curds into tofu. You want to use a good tofu press for this. Thankfully, they’re inexpensive. This is the one that we used, and it works great!
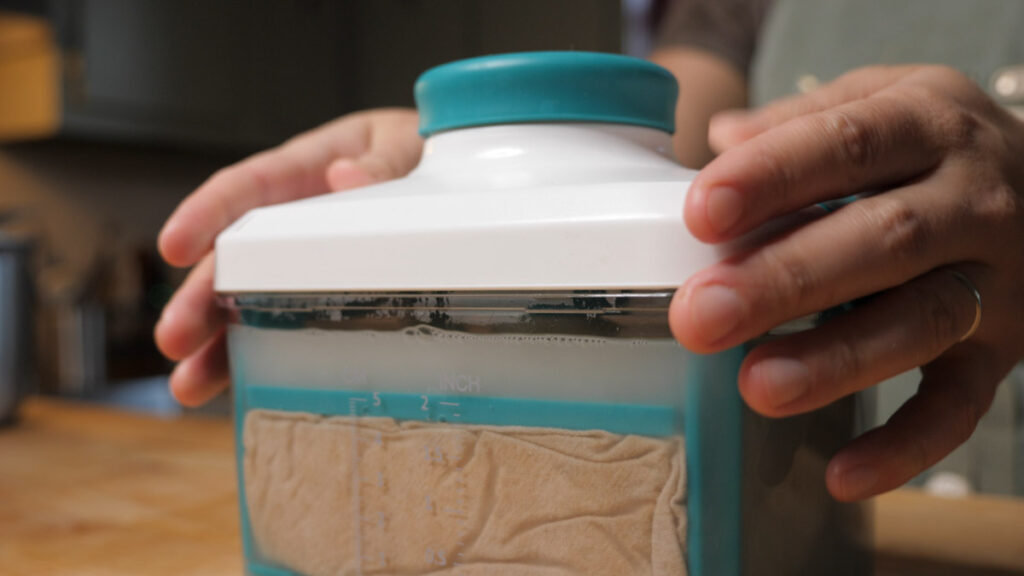
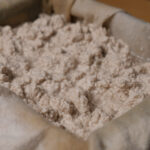
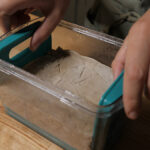
We line our tofu press with a thin cloth then add in the curds and spread them out.
Next, we press!
We start off with a light press. The longer you press and the more pressing force you apply, the firmer (but possibly more brittle) the tofu will be. After closing the tofu press, strain any excess liquid out and place the tofu press in the fridge for a final 20-minute pressing period.
Refer to the directions on your press for exact specifications.
Congrats! You’ve now successfully made tofu from a wild nut.
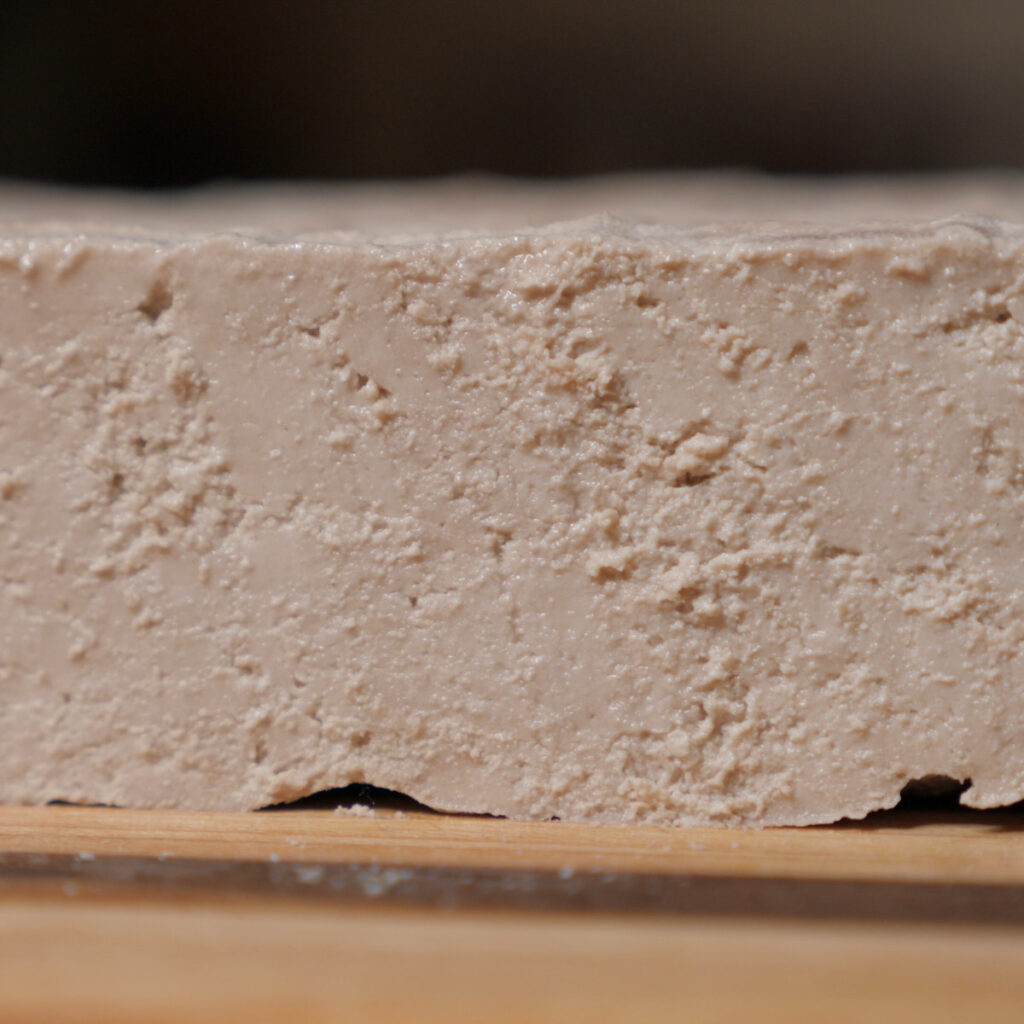
Cooking with black walnut tofu
You can use this tofu as you do soy tofu, but it does have a more robust flavor.
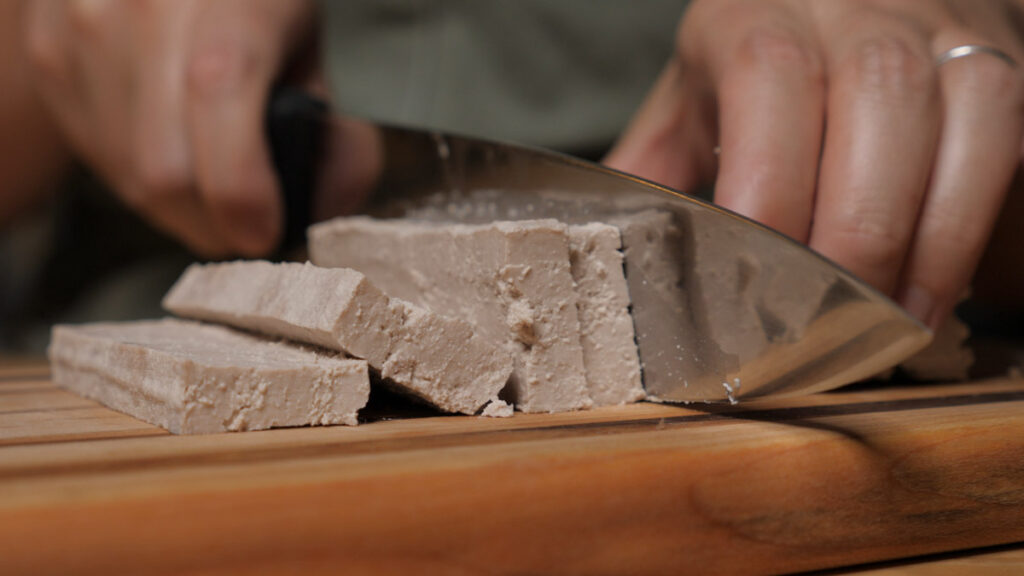
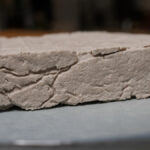
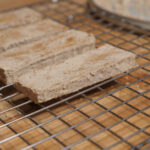
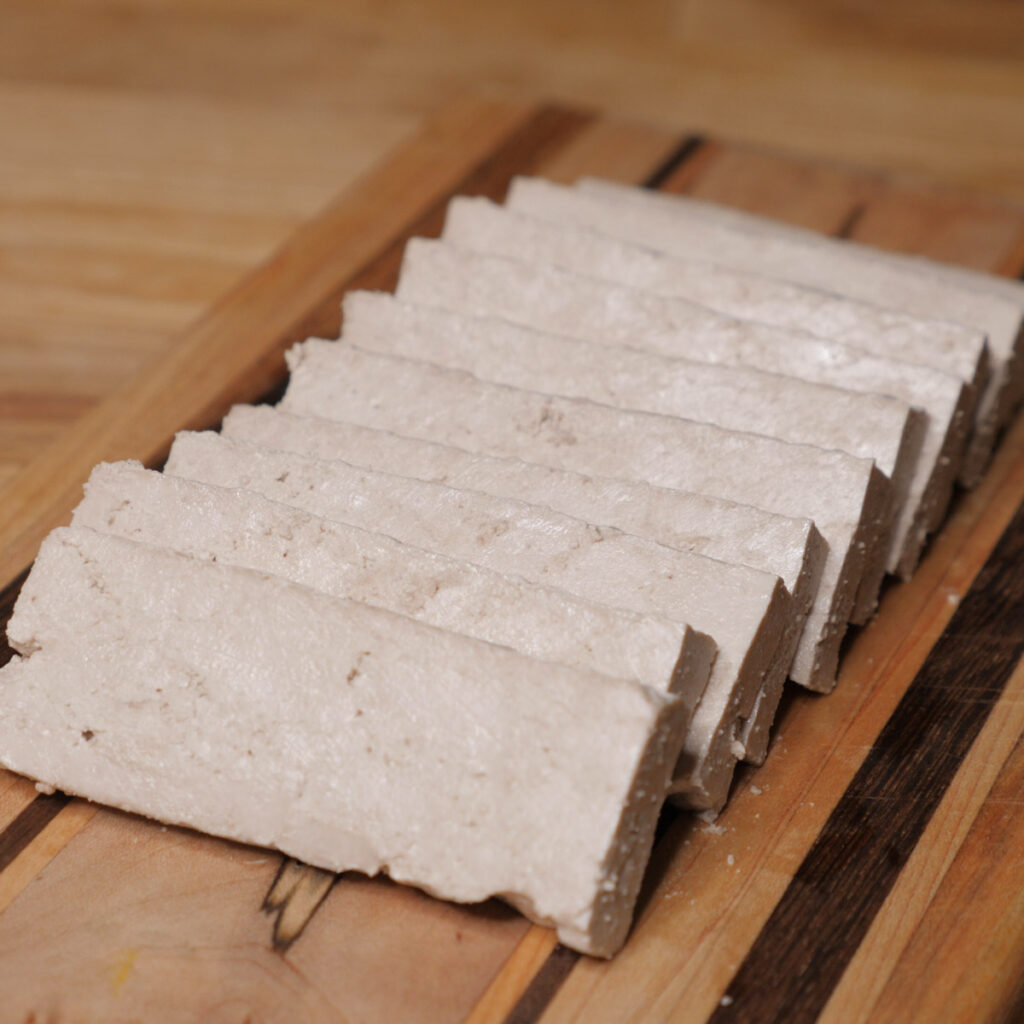
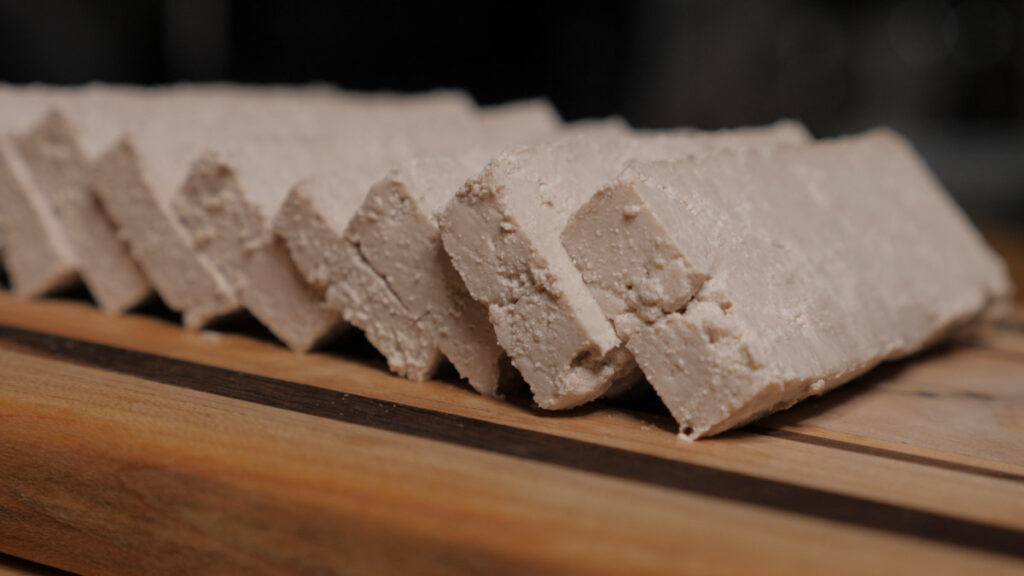
The black walnut tofu comes out of the press as a block, like you’d get from the grocery store. So the first step is to slice it into individual pieces for eating or cooking.
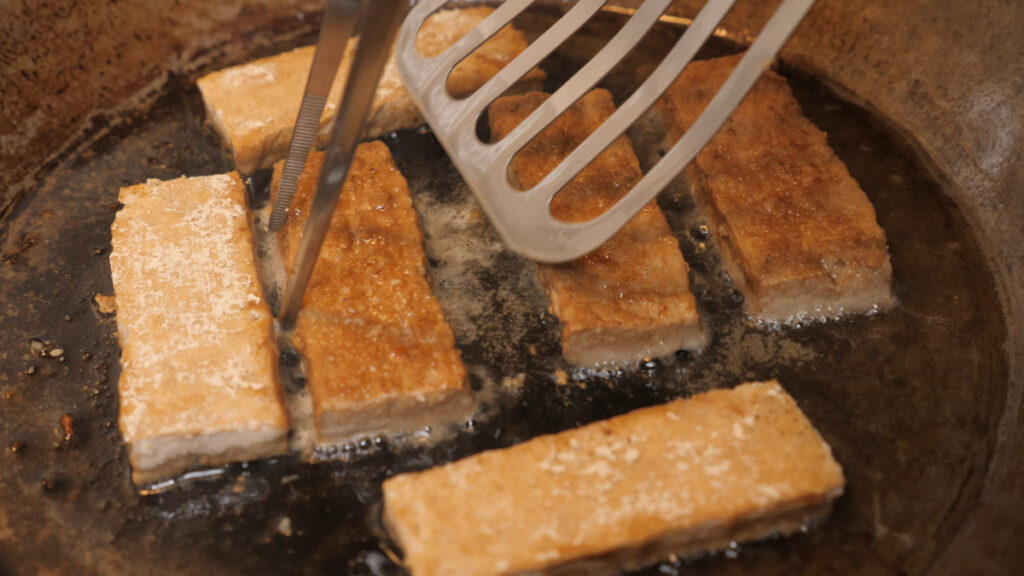
Our favorite way to use black walnut tofu is to cover it with acorn starch (you can substitute cornstarch if needed) and then saute it in oil to crisp up the exterior. This adds an incredible crunch to the otherwise soft texture of black walnut tofu.
It grows great in a rice bowl with a bunch of other veggies.
Sauces are a great complement to black walnut tofu as well. We actually use black walnuts again with wild muscadine grapes to make a nice glaze to cover the tofu. It tastes delicious!

Let us know how black walnut tofu turns out for you!
Don’t forget, anyone can try this recipe! All you need are wild black walnuts, which you can get shipped directly to you from Hammons Pantry. (Code “feral” to save 10%!)
Black Walnut Tofu
Equipment
- Tofu press
- Blender
- Flour sack for straining, can sub for fine cheesecloth or a nut milk bag
Ingredients
- 4 tsp food-grade gypsum mixed into 1 cup of water
- 1 lb shelled black walnuts
- Water as needed
Instructions
Soak the Walnuts
- Place the shelled black walnuts in a container and cover them with water.
- Refrigerate and soak for at least 24 hours, up to 2 days. If you cannot process them after 2 days, freeze the soaked walnuts and thaw them before use.
Blend the Walnuts
- Rinse the soaked walnuts thoroughly.
- Place the walnuts in a high-powered blender and add enough water to double their volume.
- Blend for 90 seconds (1.5 minutes). If necessary, divide the walnuts into two batches to avoid overfilling the blender.
Strain the Walnut Milk
- Pour the blended walnut mixture through a lined strainer into a large clear container. Be thorough in extracting as much liquid as possible, but don’t use excess pressure like twisting.
- Reserve the fibrous pulp for other uses, such as making crackers.
- Let the strained walnut milk settle for at least 30 minutes.
Separate the Milk
- Slowly and carefully pour the walnut milk into a large saucepan, leaving the settled starch at the bottom of the container undisturbed.
Cook the Milk
- Heat the milk over medium heat, stirring gently until it begins to "split."
- Gradually add the gypsum water, 1 teaspoon at a time, stirring gently after each addition until the whey becomes clear.
- Remove the saucepan from heat, cover, and let it sit for about 10 minutes.
Press the Curds
- Strain the curds from the way through a mesh sieve
- Transfer the curds to a tofu press lined with cheesecloth or a similar material.
- Spread the curds evenly, fold the cloth over them, and close the container. Strain out any excess liquid and place the pressed tofu in the refrigerator for 20 minutes. The longer you press, the firmer (and potentially more brittle) the tofu will become.
Finish and Store
- Remove the tofu from the press. Use it immediately, or store it in water in the refrigerator for up to 3 days.

